Tuning the Lenovo T520 - Upgrading Memory and Installing an mSATA SSD
- Hardware
- Published Sep 22, 2011 Updated Sep 6, 2011
Disassembling the Lenovo Thinkpad T520 is easy, which makes upgrading the device a simple procedure. As described in my previous article I bought a T520 with only 2 GB RAM in order to replace the shipped memory with two 4 GB modules from Kingston. I also bought Intel’s mSATA SSD 310. This is a short description of the upgrade and installation procedure.
First Memory Module
Installing the first memory module is extremely simple: just turn the laptop on its back and release the two screws pointed at by the red arrows to gain access to the DIMM slot:

Second Memory Module
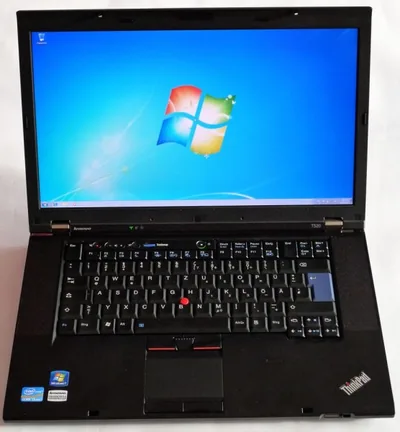
In order to gain access to the second DIMM slot you need to release the two screws pointed at by the yellow arrows in the preceding image. Then turn the laptop around and gently remove the keyboard.
The second DIMM slot is below the white cover (red arrow), the mSATA slot below the black cover (yellow arrow):

Installing the memory module is simple:

SSD
In order to install the Intel SSD 310 remove the black cover and carefully insert the SSD into the mSATA slot:

By the way, the SSD 310 is unbelievably tiny. Is has barely the size of six keys on the Thinkpad’s keyboard:


Comments